



Guide 01 of 08
Create your account
Sign up, verify your email and set up your profile — the same account works for booking and for hosting.
5 steps · 2 min read
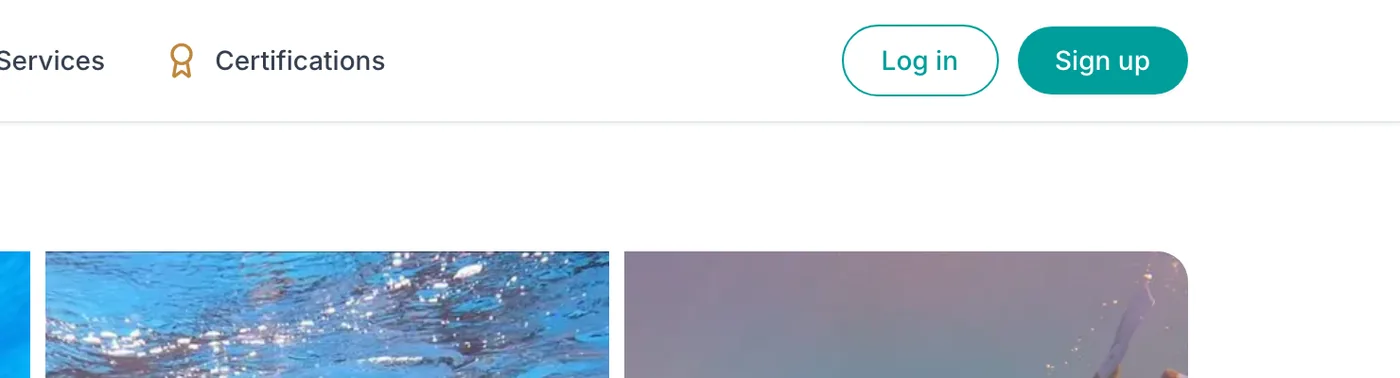
Step 1: Click "Sign up"
From any page, use the "Sign up" button at the top right of the site (next to "Log in").
- Sign up
Step 2: Fill in your details
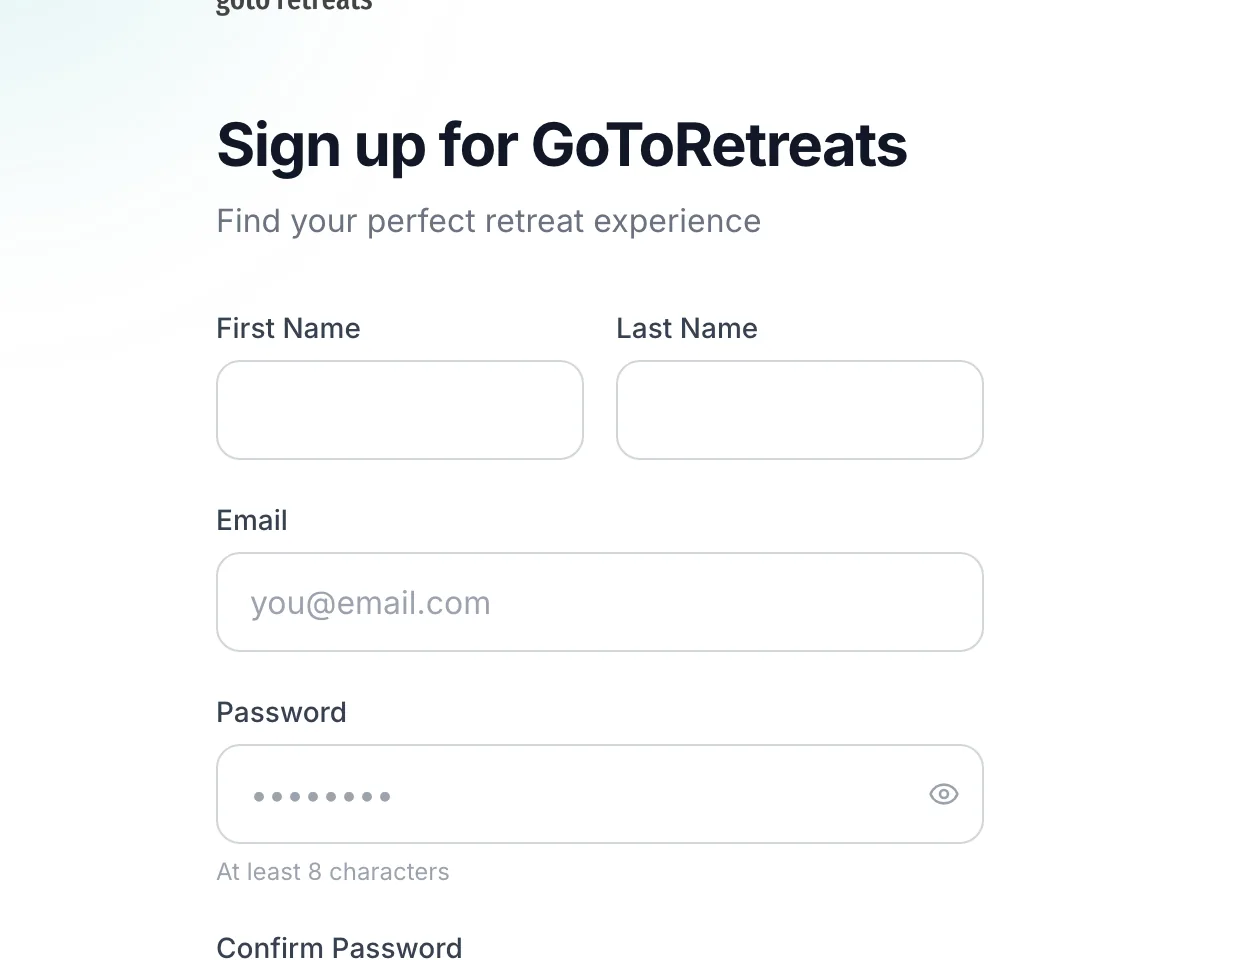
Enter your "First Name", "Last Name", "Email" and a "Password" of at least eight characters, confirm it, then tick "I agree to the Terms of Service and Privacy Policy" — the "Sign up" button unlocks once you do. You can also "Continue with Google".
- First Name
- Password
- I agree to the Terms of Service
- Continue with Google
Step 3: Verify your email
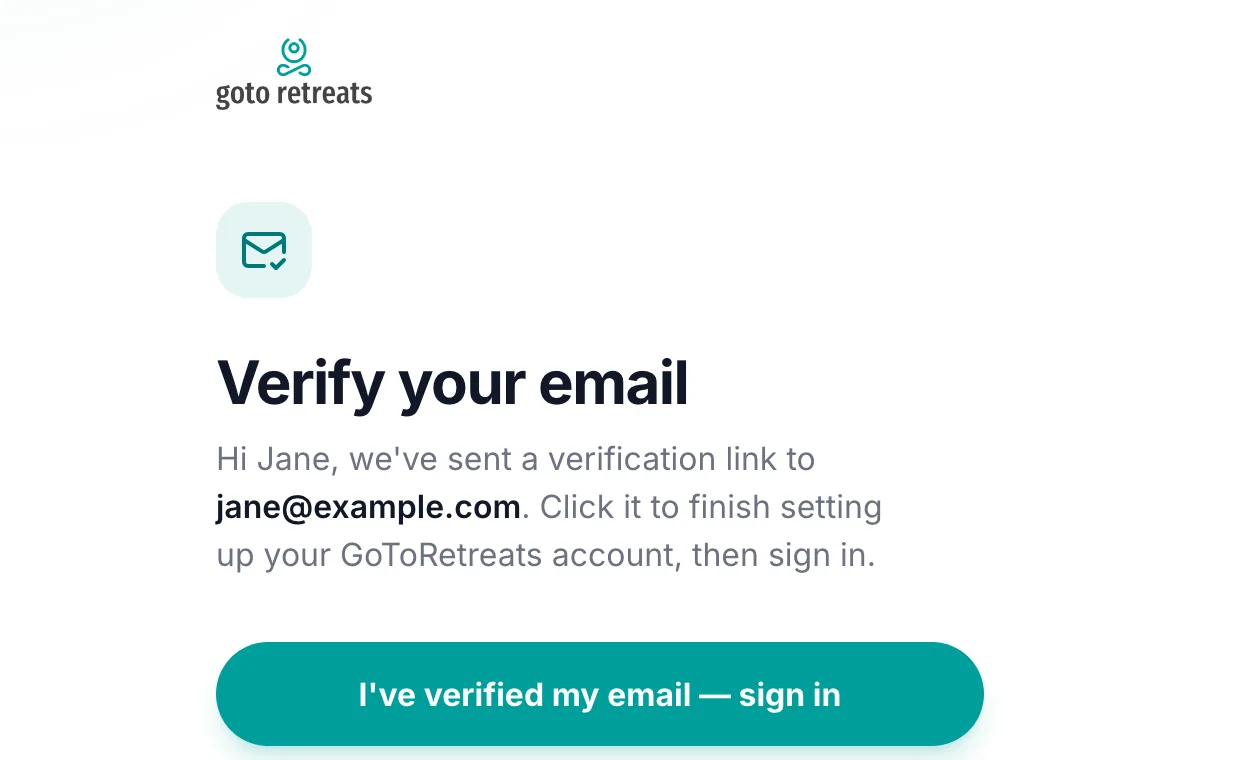
You land on "Verify your email" and we send a verification link straight away. Open it from your inbox — check spam if it has not arrived within a minute — then click "I've verified my email — sign in".
- Verify your email
- I've verified my email — sign in
Step 4: Sign in
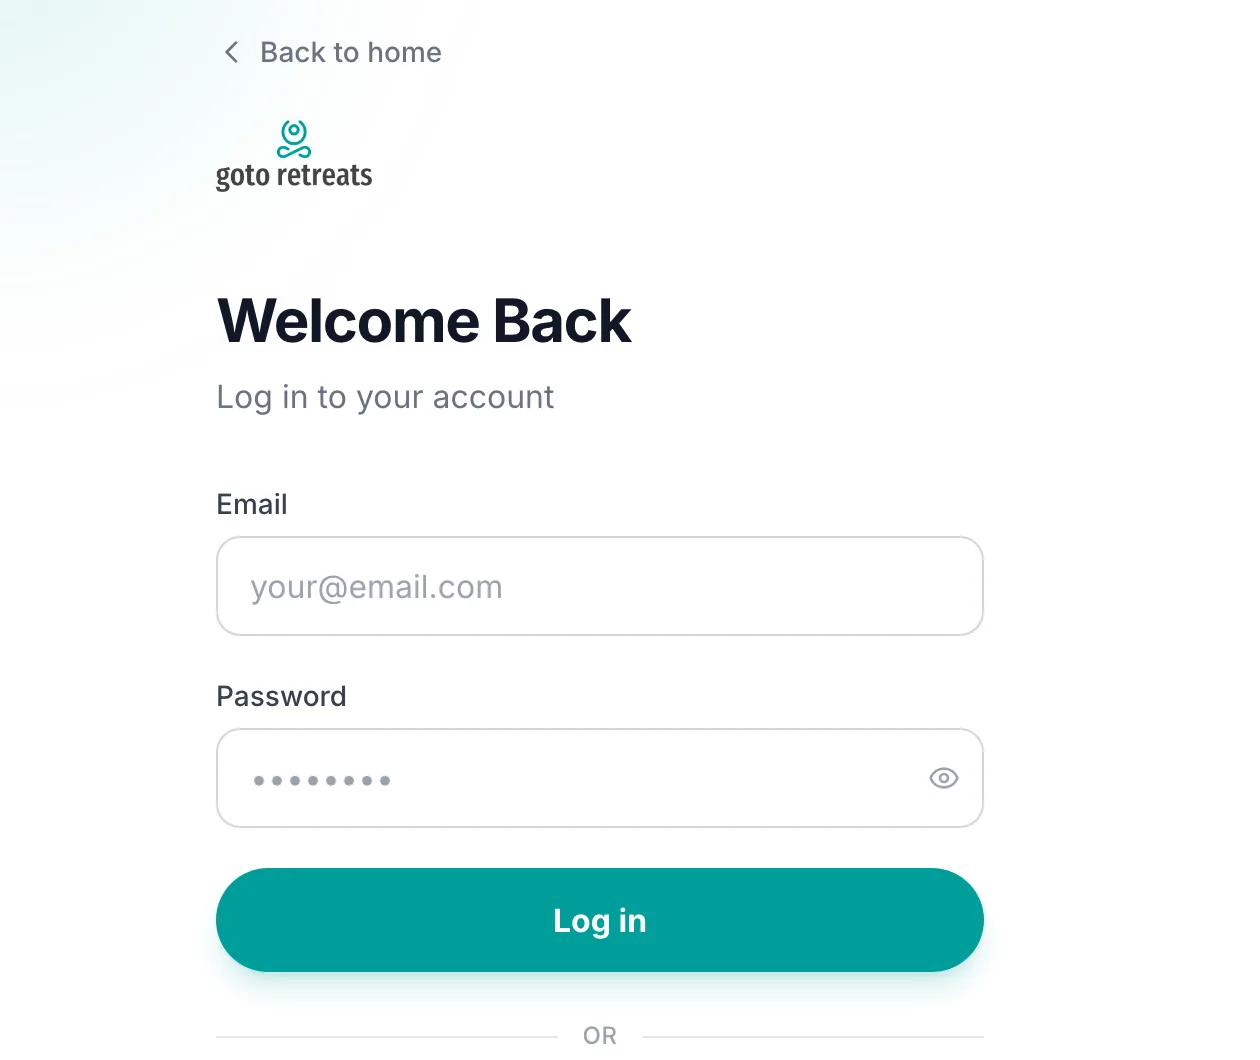
The link confirms your address and sends you to "Welcome Back". Sign in with the email and password you just created (or Google).
- Welcome Back
- Log in
Step 5: Complete your profile
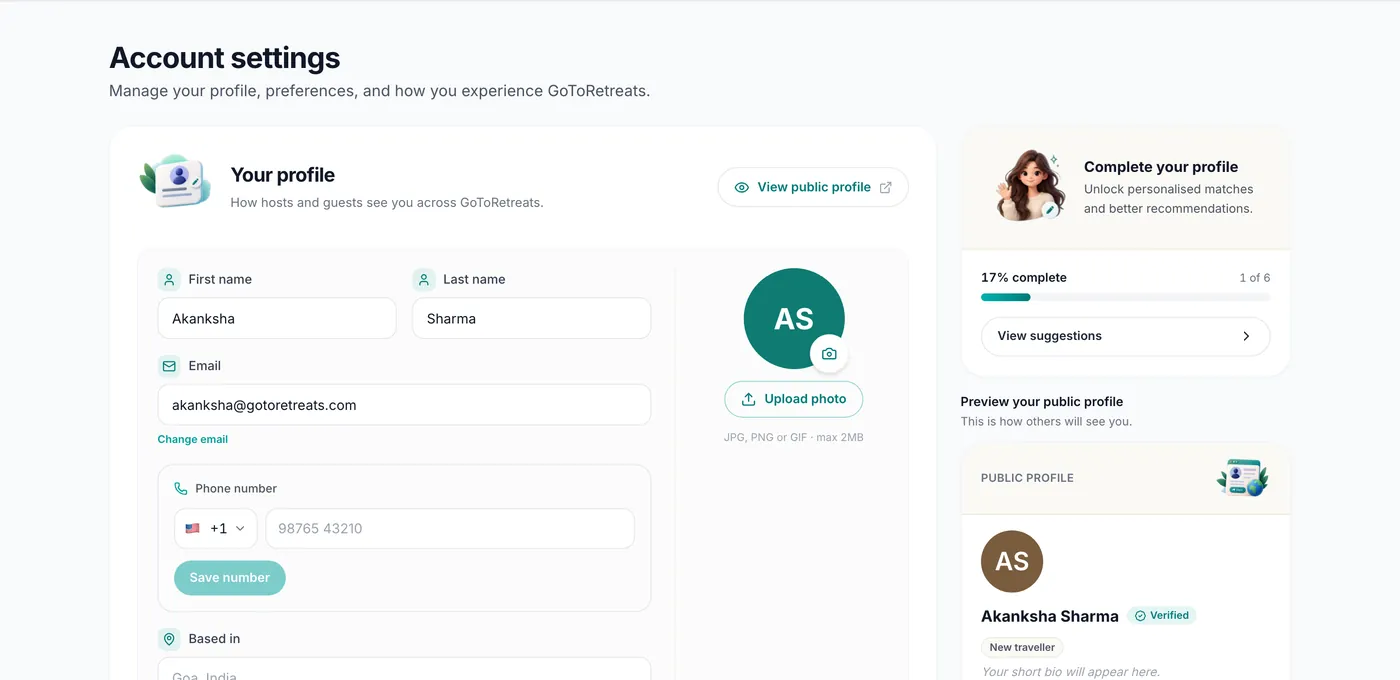
Open your avatar menu › Settings to reach "Account settings". Under "Your profile" add a photo, your "First name" and "Last name", where you are "Based in" and a "Short bio", then click "Save profile". Hosts see this when you enquire; guests see it on your listings.
- Account settings
- Your profile
- Based in
- Short bio
- Save profile
Hosting starts from the same account — choose "Become a host" from your profile menu whenever you are ready to list.